When your computer has more than 1 sound card, you may find it cumbersome to change audio devices. The standard method requires going through the control panel or settings application , a process of multiple dialogs and multiple clicks. There is a better way.
Run the control panel on Windows 7 or on Windows 10 via Settings application , there are multiple steps required to get to the audio device selection, all end up at the same control panel dialog.
Two ways to get to the control panel application that sets the default audio playback and record devices
- Start / Control Panel / Hardware and Sound / Sound (This is the Windows 7/8 method)
- Start / Settings (type “sound”) / Manage audio devices (This is the Windows 10 Universal app method)
Both of the above take you to EXACTLY the same control panel application.
Bring up process explorer from sysinternals and it shows that the control panel task is really the rundll32.exe application with parameter to tell it to load and run the DLL which is the control panel sound device manager.
Command line:
“C:\WINDOWS\system32\rundll32.exe” C:\WINDOWS\system32\shell32.dll,Control_RunDLL C:\WINDOWS\System32\mmsys.cpl ,
Not sure why that last comma is there, but this is all the information we need to short circuit the long steps to get the sound device selection dialog. Put that string into clipboard. Run a command prompt, paste, enter, whalla, sound device selection dialog. BUT – don’t want to use a command prompt to make this happen.
Instead, create a “shortcut” on the desktop to point to rundll32.exe as the executable program, with parameter of everything after the program name above.
Here are steps in detail. Point at anywhere on the desktop with no icon or program.
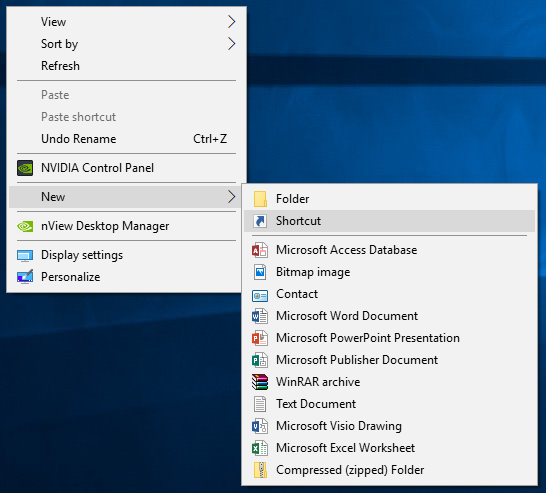
- Right mouse button, new, shortcut

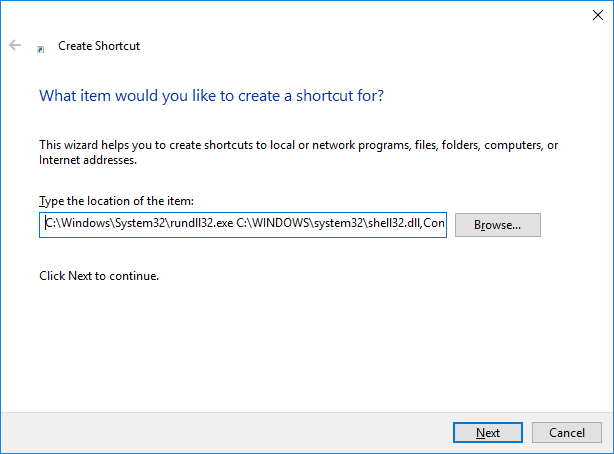
Click Browse: And select, this PC, C:, Windows\System32\rundll32.exe.
This will fill in the “Type the location of the item” textbox.
The name of the executable is in place, append on the line the additional parameters to tell it which DLL to load and execute.
- C:\WINDOWS\system32\shell32.dll,Control_RunDLL C:\WINDOWS\System32\mmsys.cpl
Notice I omitted the comma at the end. When get done, the create shortcut dialog looks like below.

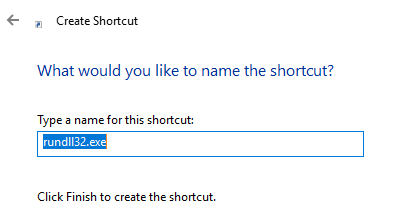
The last step is to give it a name. I choose “Sound”. That is, change rundll32.exe to “Sound”

Save and then double click the icon on desktop, and INSTANT control panel access to setting the default output device.
To make it prettier, set an icon. Go back in (point at the icon, right mouse button, properties) and set the icon via “Change icon”. Find one that looks about right and done…
Joe Nord
Originally posted Oct 27 2017
Comment from: Martin Visitor
Hi, thank you! Exactly what I was looking for! It’s perfect. 03/27/19 @ 07:08 pm